6 Things to Try During Your Next Photoshoot to Boost Your Creativity
MEH. That’s how you’re feeling lately. You might be happy with the work you’re creating but you’re ready to take it to the next level. We’ve all been there. You’re ready to try something new. I got to this spot pretty quickly in my photography career — I set out to try everything from the start. Here are a few super easy and CHEAP ways to mix up your next photoshoot! Scroll to the bottom to see some of the photos I’ve taken with these techniques!!
Put leaves, flowers, or trash over your lens
This is going to feel weird when you first try it. Your camera is kinda heavy and you’ll be holding it with one hand while you hold your leaf over the lens. The trick here is to hold it like riiiight up against the lens while hiding your fingertip from your view. It helps to find something that will let a little light through. I’ve found really papery leaves or a bougainvillea petal work really well. Try moving it around the edges of your lens to create a sort of frame for your subject.
Try a Photography prism
This one isn’t free but it’s pretty stinkin cheap. This is the one I use. It’s a bit trickier than the leaf/flower/trash. Holding it against your lens, try twisting it a bit and moving it around the edges of your lens. The edges of the prism are a bit sharp so be careful not to scratch your lens! It works well if you try to reflect part of the image that has an interesting pattern or visual that might add to the effect of the image.
Use your phone to make a mirrored image
I was so skeptical when I heard about this one. The idea is, take off your phone case and put the long edge of your phone against the lens. It takes a bit to figure out how to position your phone but once you do you’ll love it! You can see the mirrored image right in your viewfinder.
Try twinkle lights
I grabbed these from Amazon for $15 bucks to use. Twinkle lights are a great option for lower-light situations as they add an atmospheric glow to your subjects! They also give a fun bokeh effect. It’s a little tricky to get them in front of your lens just right, so be sure to move them around a bit to find what you like best. Also, don’t be like me and just shove them in your bag after using them. It took me 45 minutes to untangle them….Wrap ‘em up real nice and you’ll thank me next time you want to use them.
Put a pantyhose or saran wrap over your lens
This one is gonna feel reaaaaaal weird but trust me, it looks really cool. Sometimes putting things over your entire lens makes focusing hard so be mindful of that! You may have to manually focus. Another thing you can do to get really weird is to put chapstick or vaseline over the saran wrap for a smudged effect!
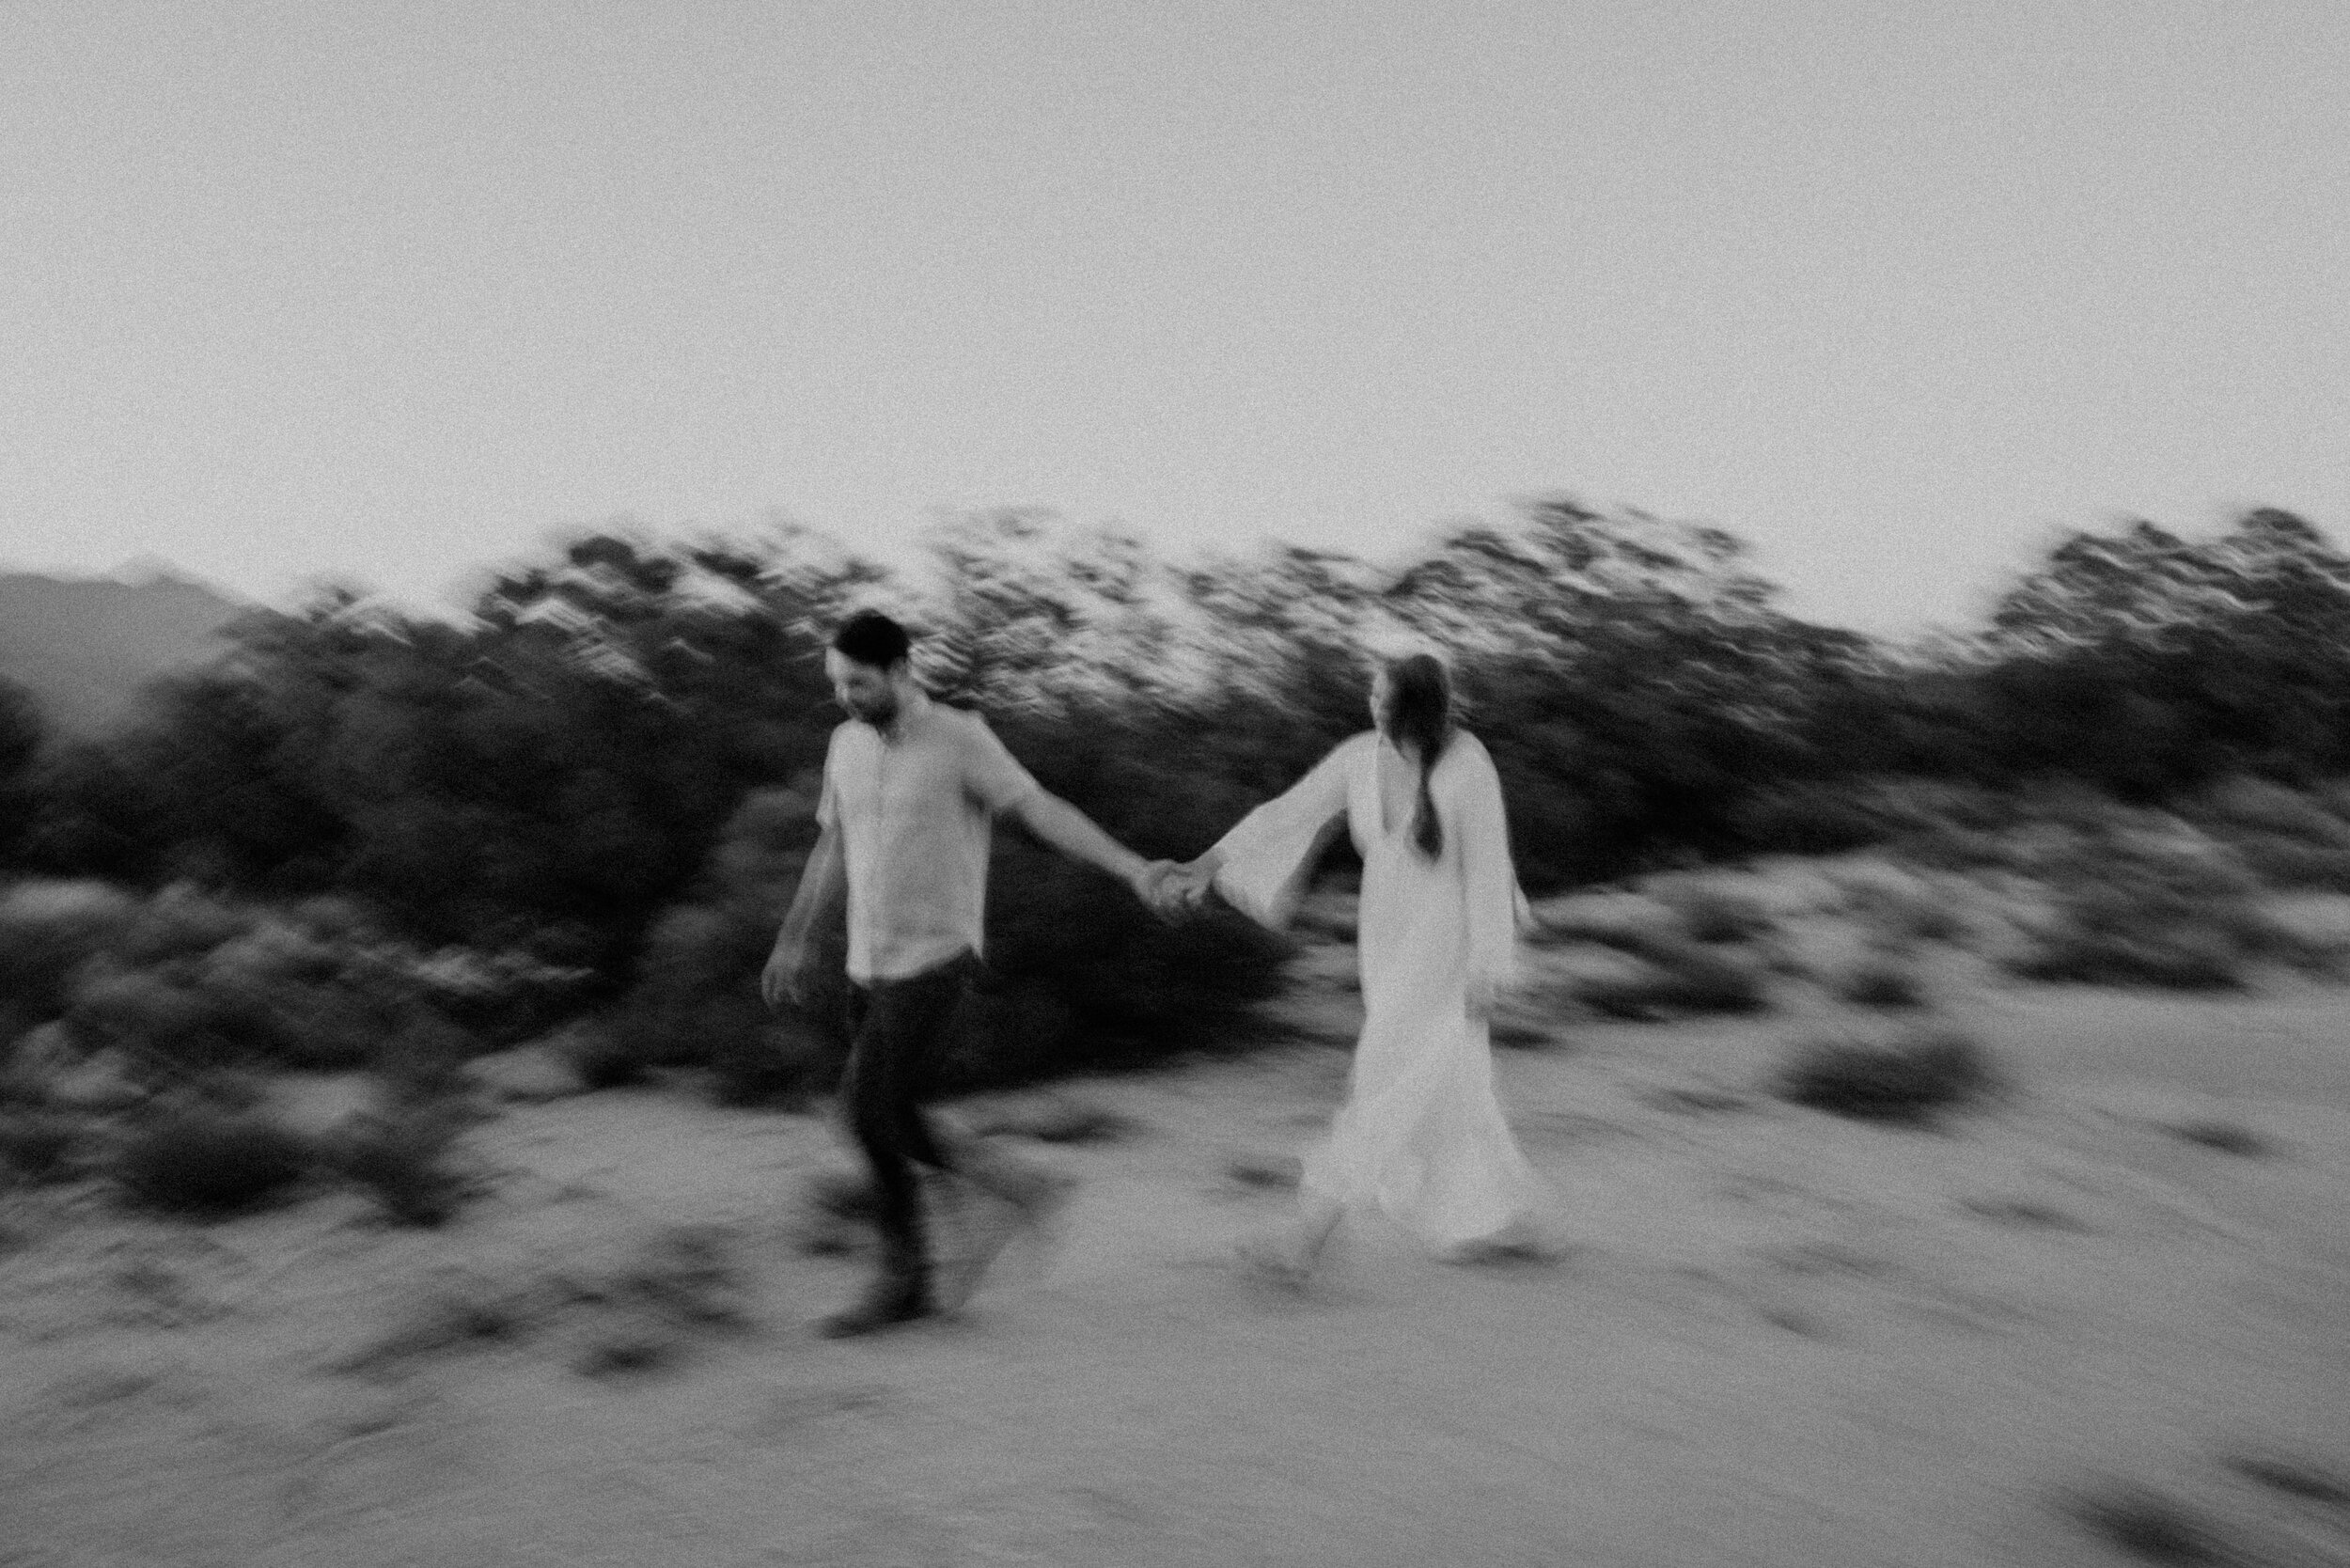
Try motion blur
Last but not least, MOTION BLUR! This one is like, so hot right now. *insert hair flip* lol. But motion blur has the ability to really capture movement and add depth to any gallery if done correctly. I’m not gonna lie, this one is tricky to get the hang of. Not enough blur and it looks like it was an accident. Too much blur and it’s too hard to see the subject. I’ll give you a sample of one of my settings but the key here is to take some time to experiment. Motion blur works best when there’s less sun — so a cloudy day or right after sunset is perfect! Here’s one set of settings from a super cloudy day: ISO 160, aperture 1.8, Shutter speed 1/8. You’ll get blur if there’s movement and your shutter speed is anything less than 200 but you wanna find that sweet spot of a decent amount of blur while still being able to distinguish the subject.
I’m gonna give you ONE MORE FREEBIE! If you’re looking to boost your creativity and you haven’t tried film photography or it’s been awhile since you picked up your film camera, it’s time my friend. You can find old skool used film cameras for dirt cheap. Using a film camera forces you to slow down, take a breath, and compose your shot. You only have so many frames per roll (I normally shoot with a 36 frame film roll) and it has seriously been a GAME CHANGER for me. I like to throw a black and white roll of film in my film camera and bring it along during engagement shoots and wedding days because I love the way black and white film turns out. Bonus: there’s very little editing you need to do to film scans once they come back. A few places you can send your film rolls to get developed are: The Goodman Film Lab, Indie Film Lab, & The Darkroom.
Scroll down to check out some of my weird photos.
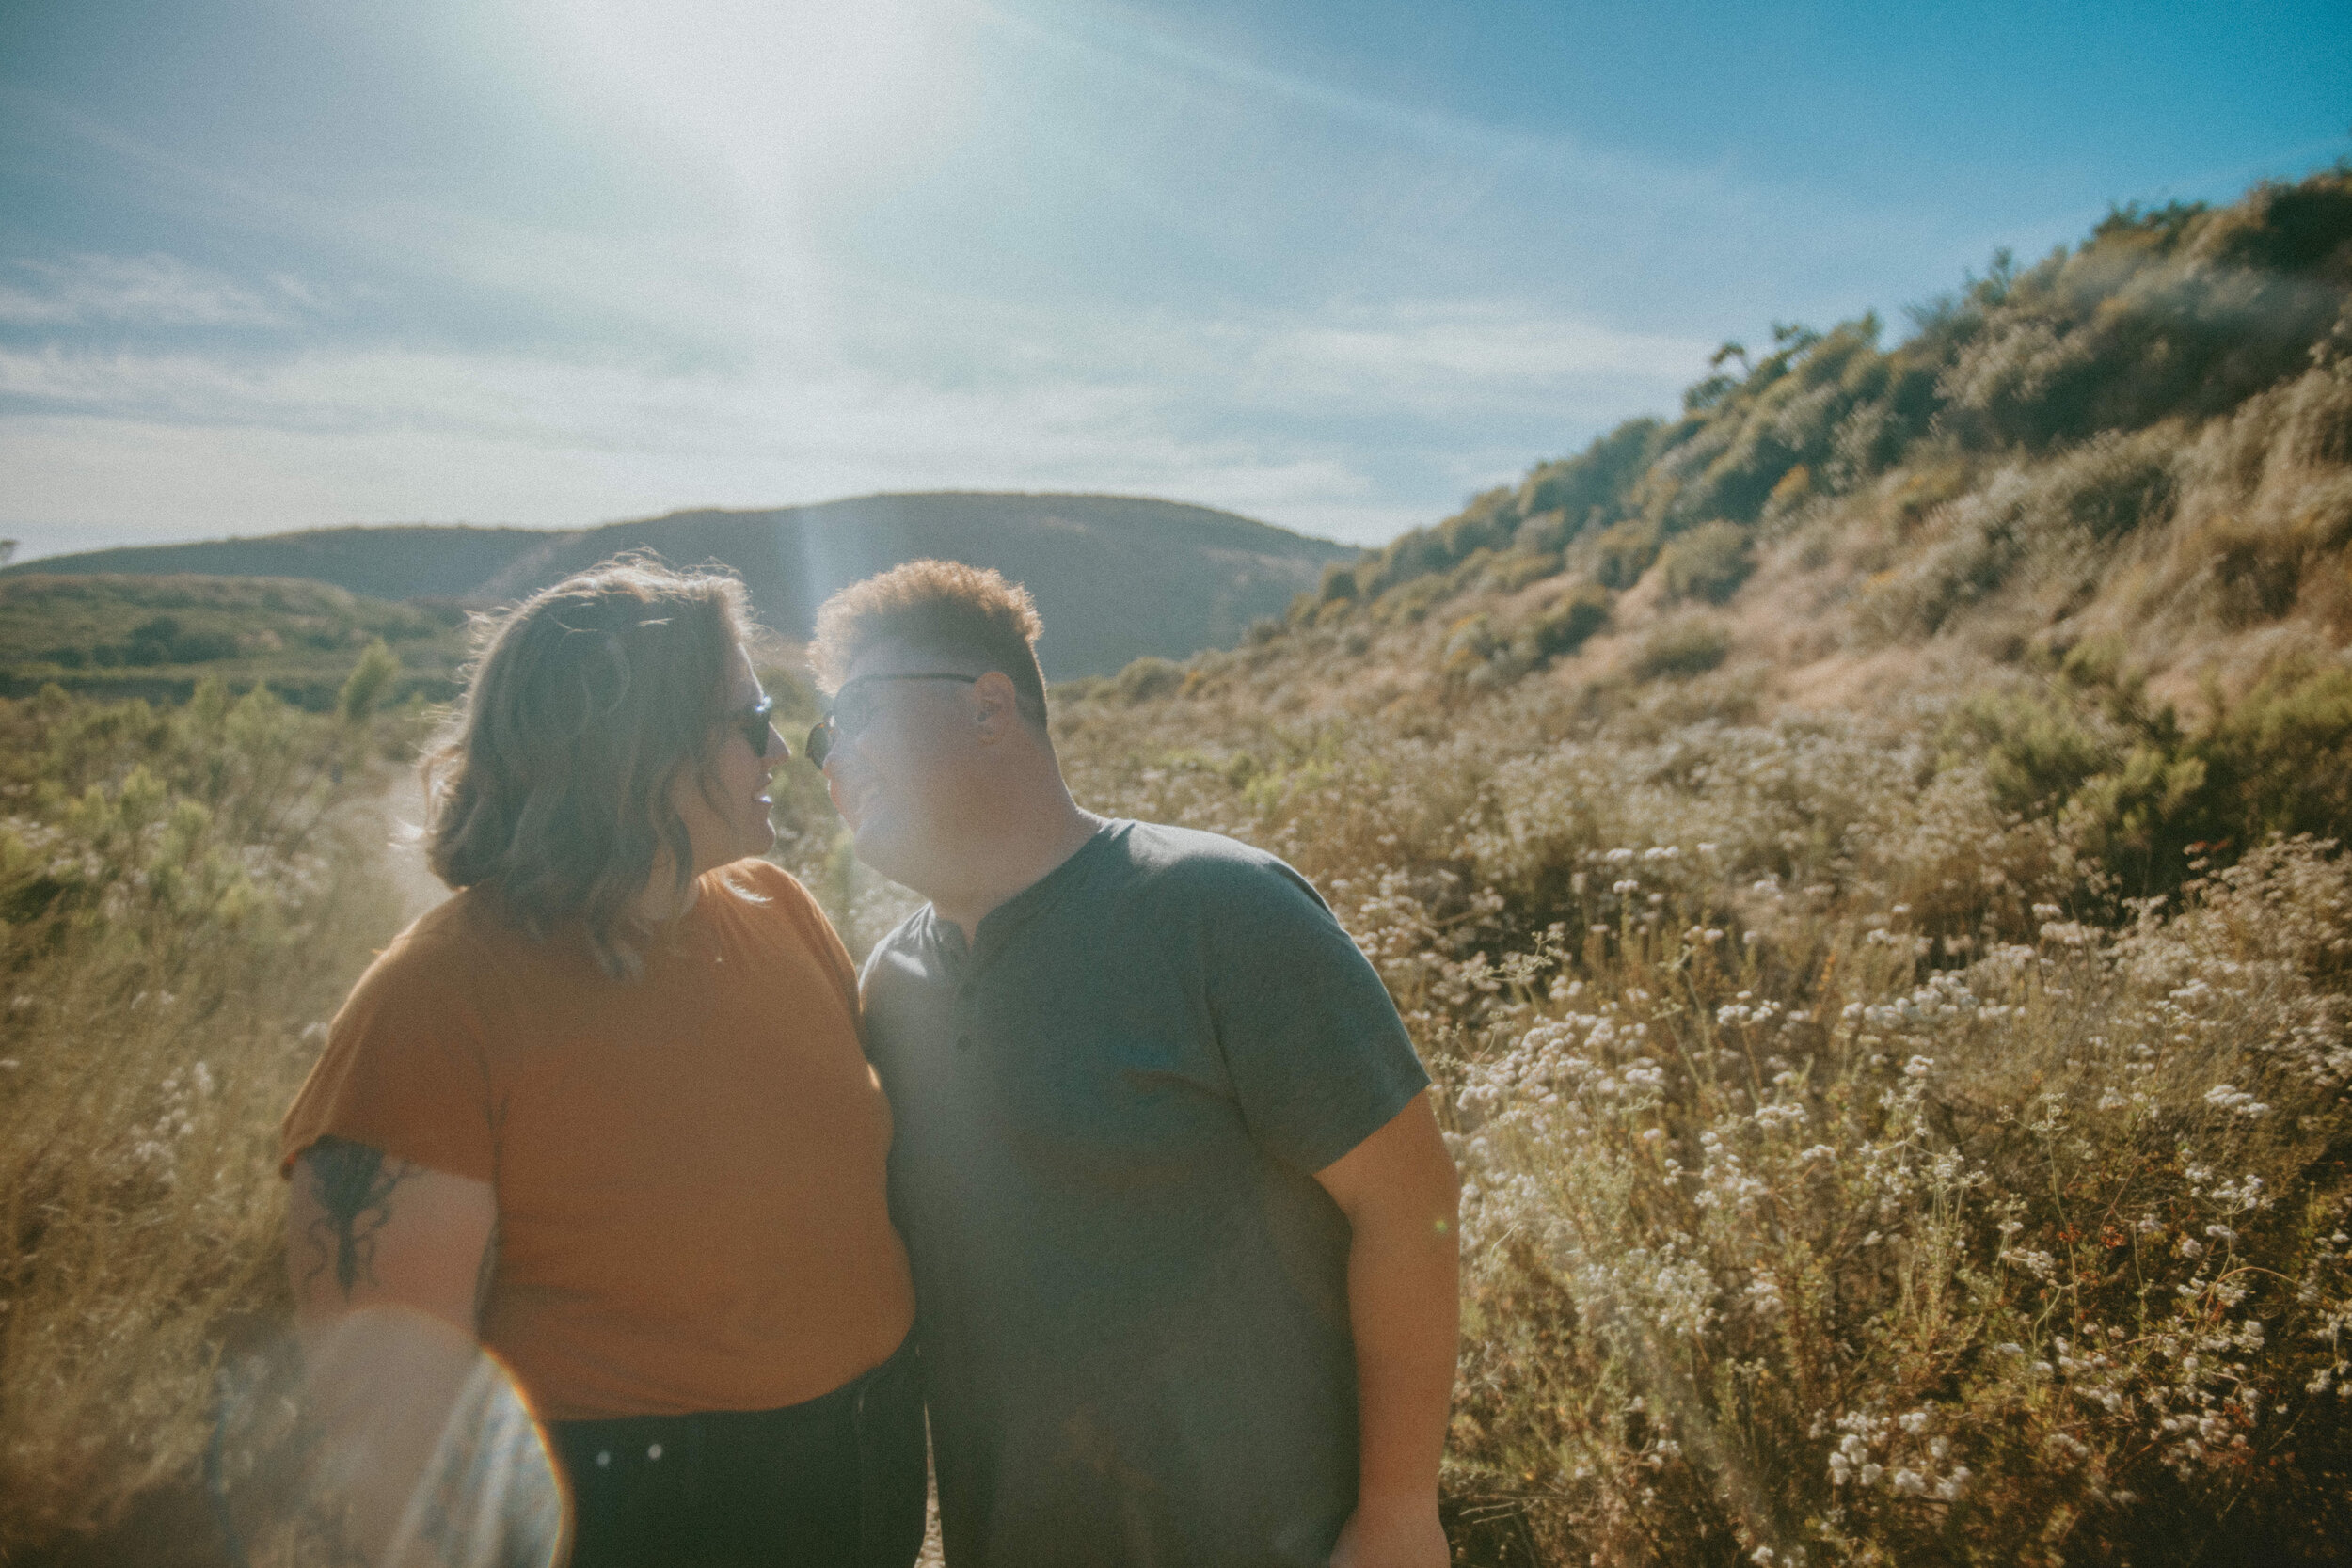
For this photo, I had saran wrap over my lens.

For this photo, I had vaseline on my lens (well, actually on my UV filter!)
My settings here were: ISO 200, Shutter Speed 1/6, Aperture 2.8

Here’s an example of a photo taken through a panty hose.
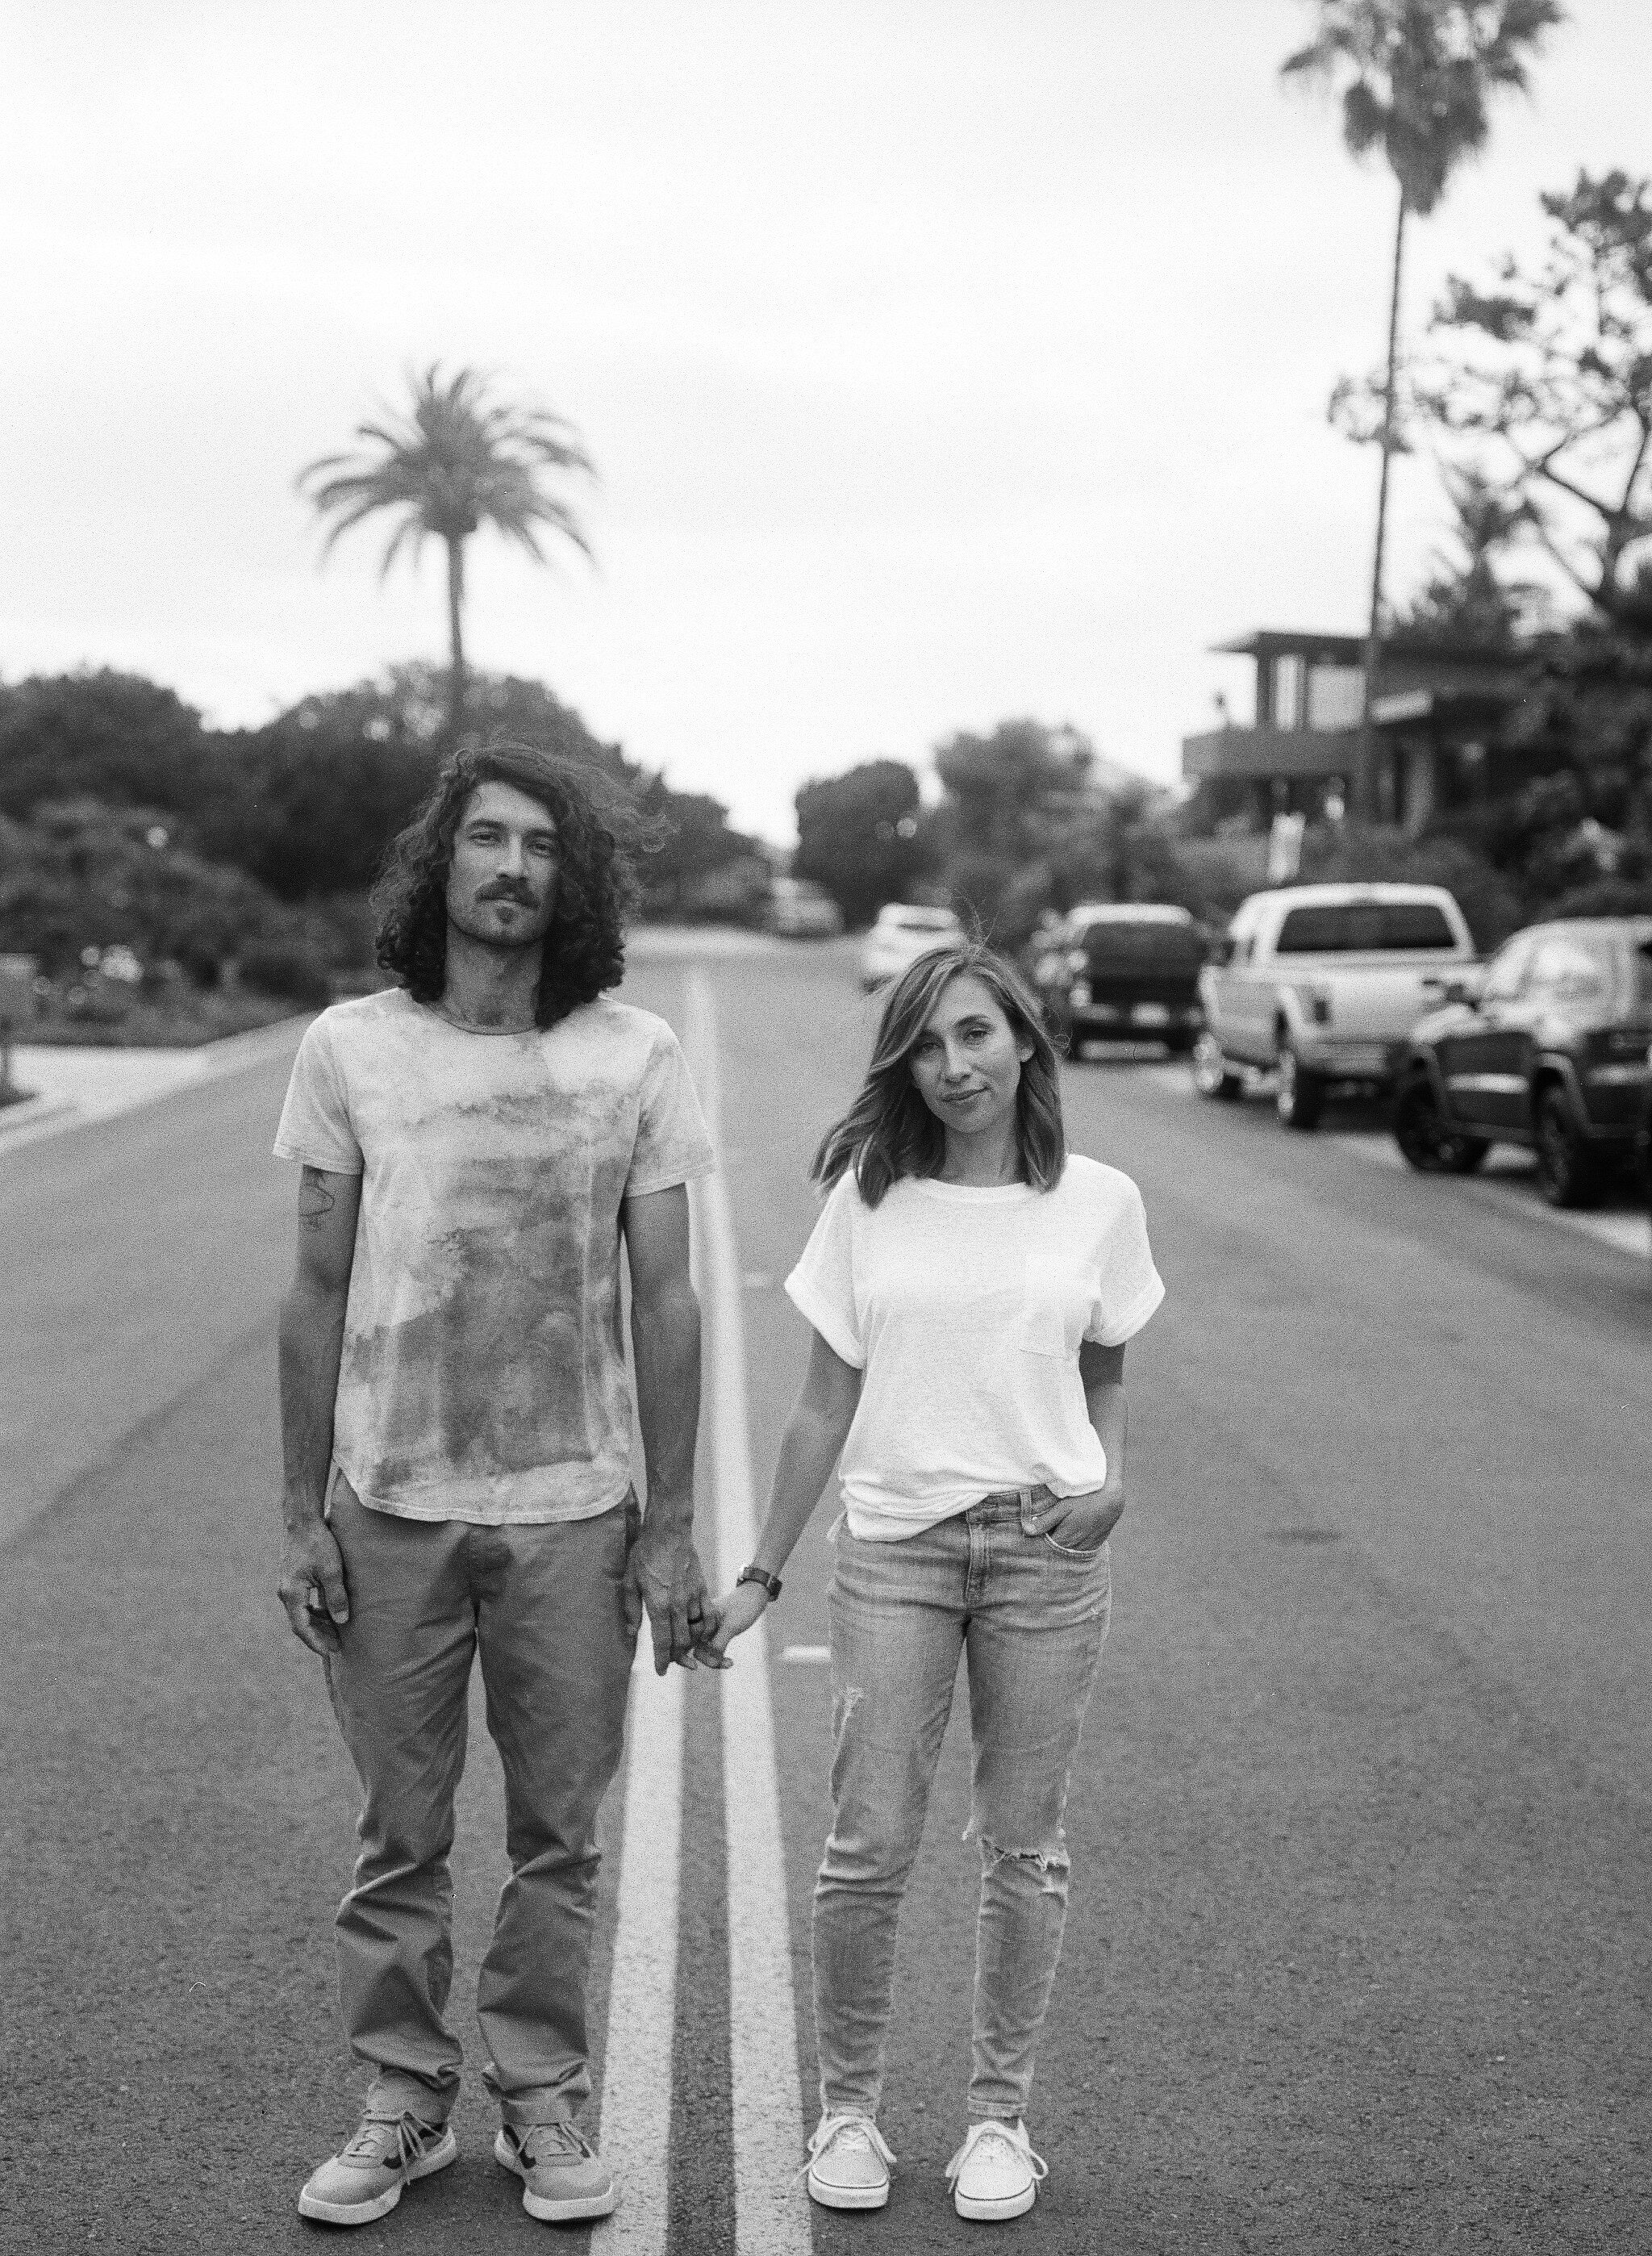
This one was taken on an old skool medium format film camera
That’s it! Feel free to follow my instagram @thestephsousa to catch more experiments as I do them!